
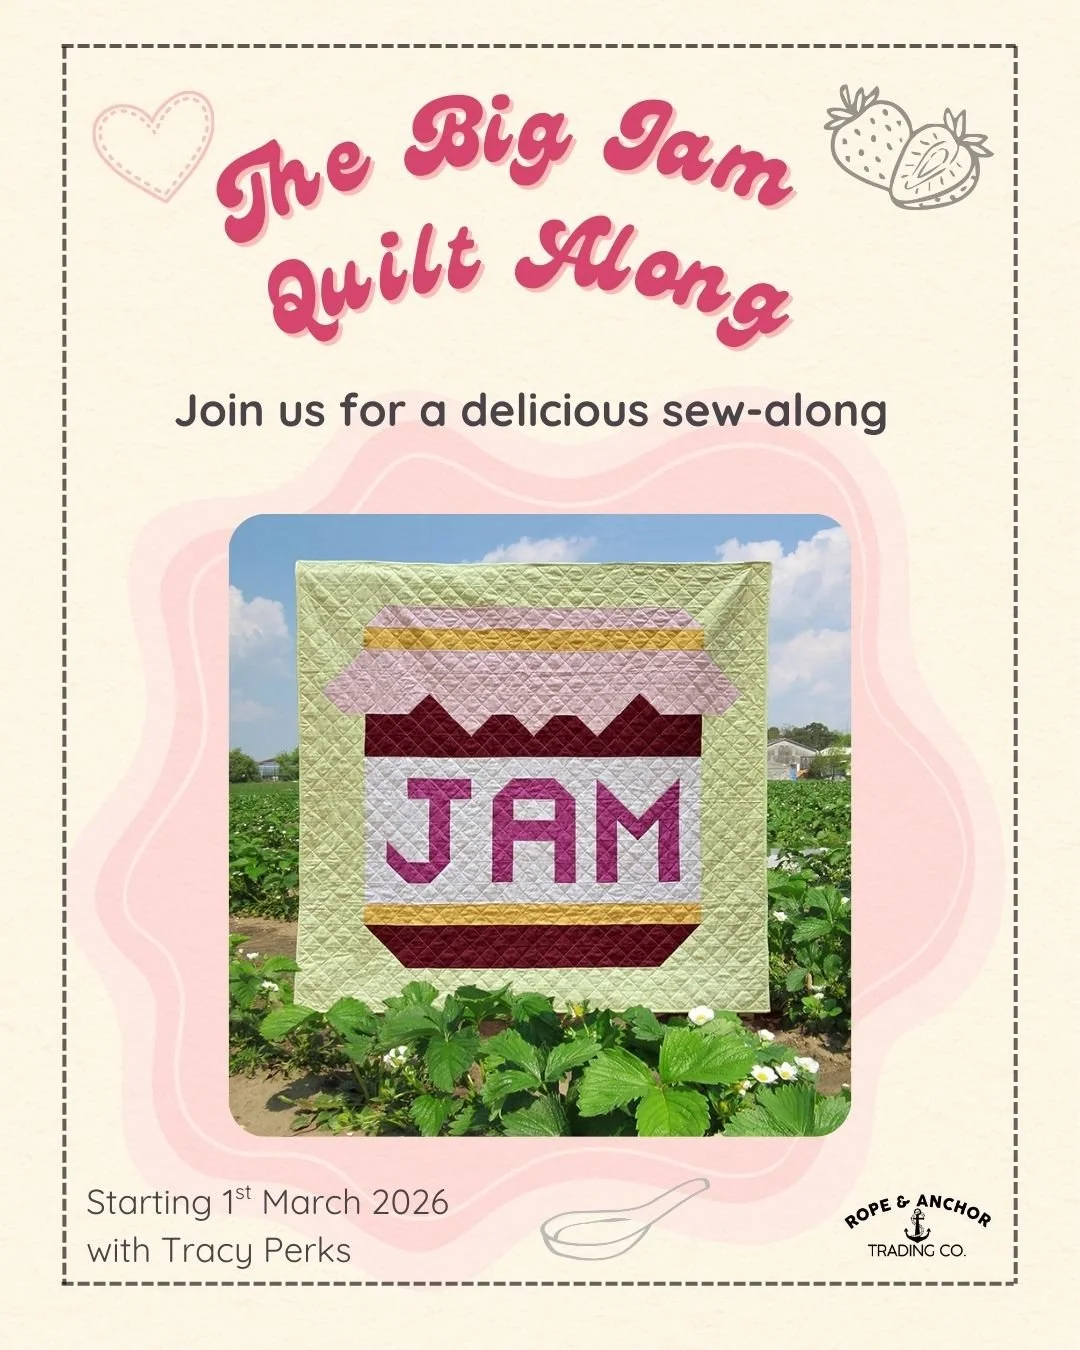
Week 2 - the Big Jam Quilt Along
A row‑by‑row quilt‑along that’s absolutely jam‑packed with joy
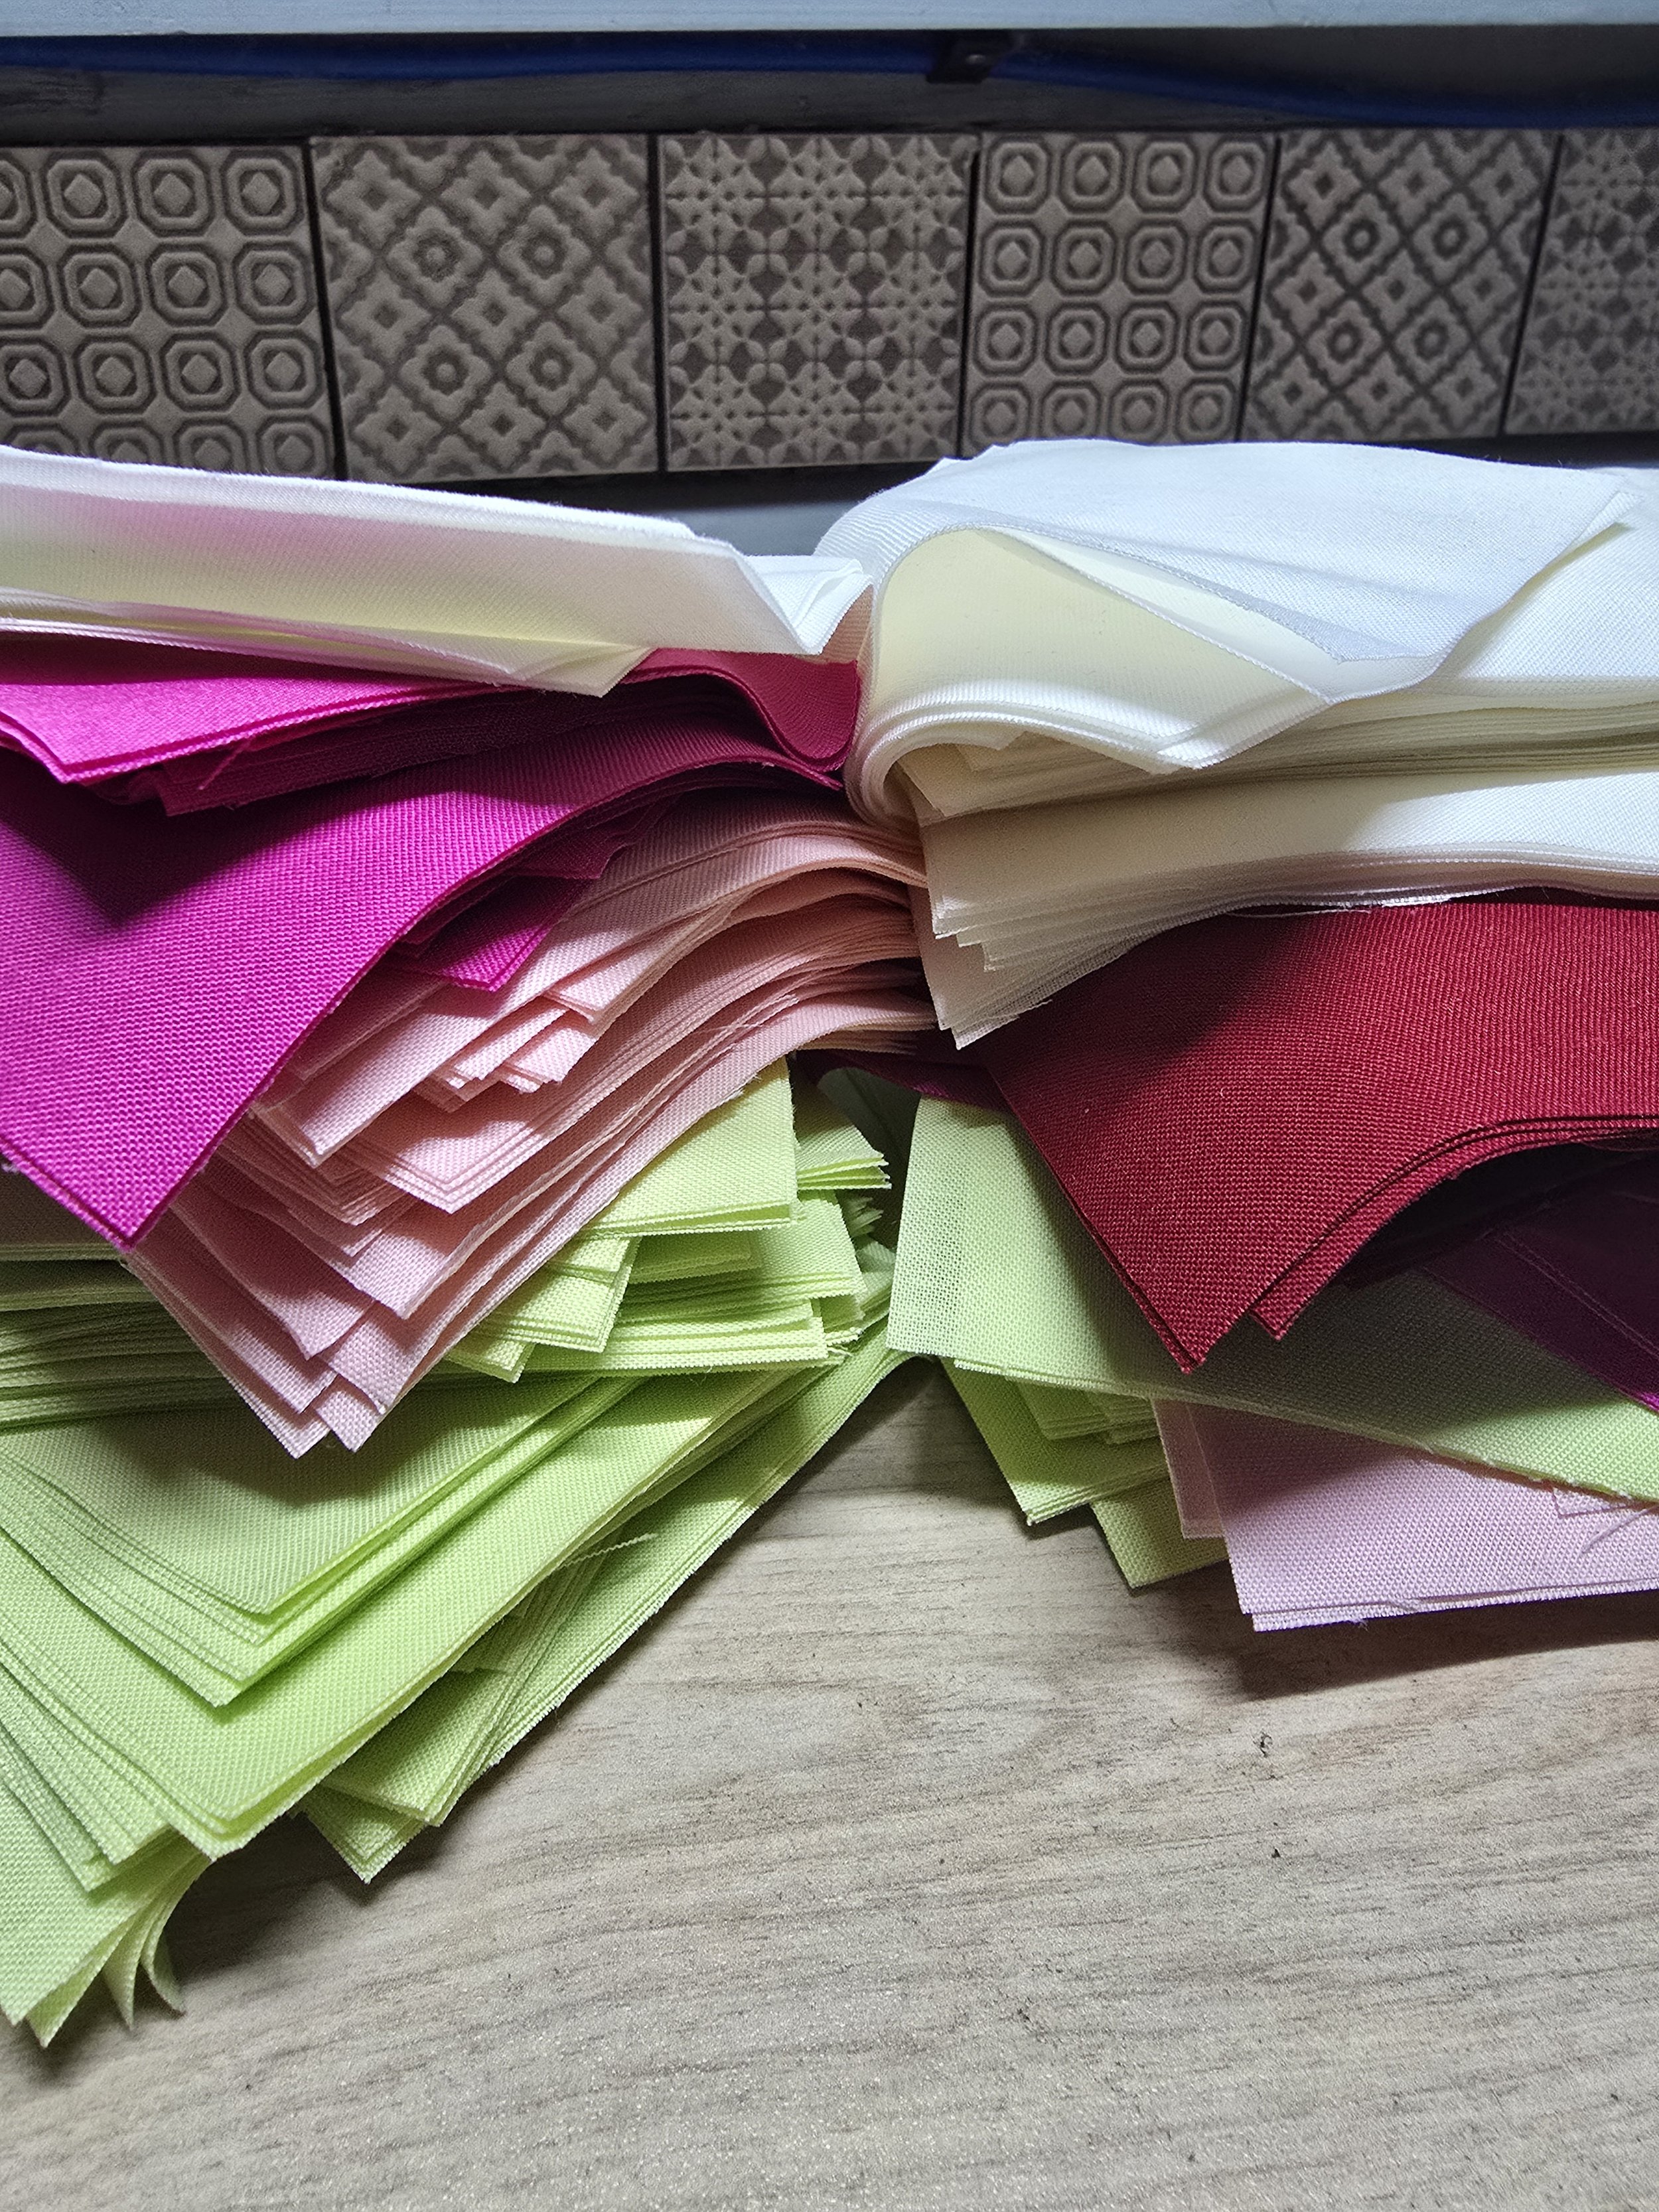
🍓 Making Your Fruit
Did you choose your Jam Jar Flavours last week? So far I have seen Cherry Jam, Strawberry Jam and Blueberry Jam. Did you use the colour your own chart in the pattern? Please share in the Facebook Group if you did, we all love to see what everyone else is making.
This week is all about bringing your fruity half square triangles to life. We’re easing into the Jam Quilt by preparing the half‑square triangles that gives the jam jar is shape.
Half‑square triangles can look a little technical on paper, but in this pattern there aren’t too many, and taking a little time now to sew and trim them makes the rest of the piecing feel calm and steady. I always like to get mine sewn and trimmed before I start joining the rows. It’s one of those small steps that sets you up beautifully for the week ahead.
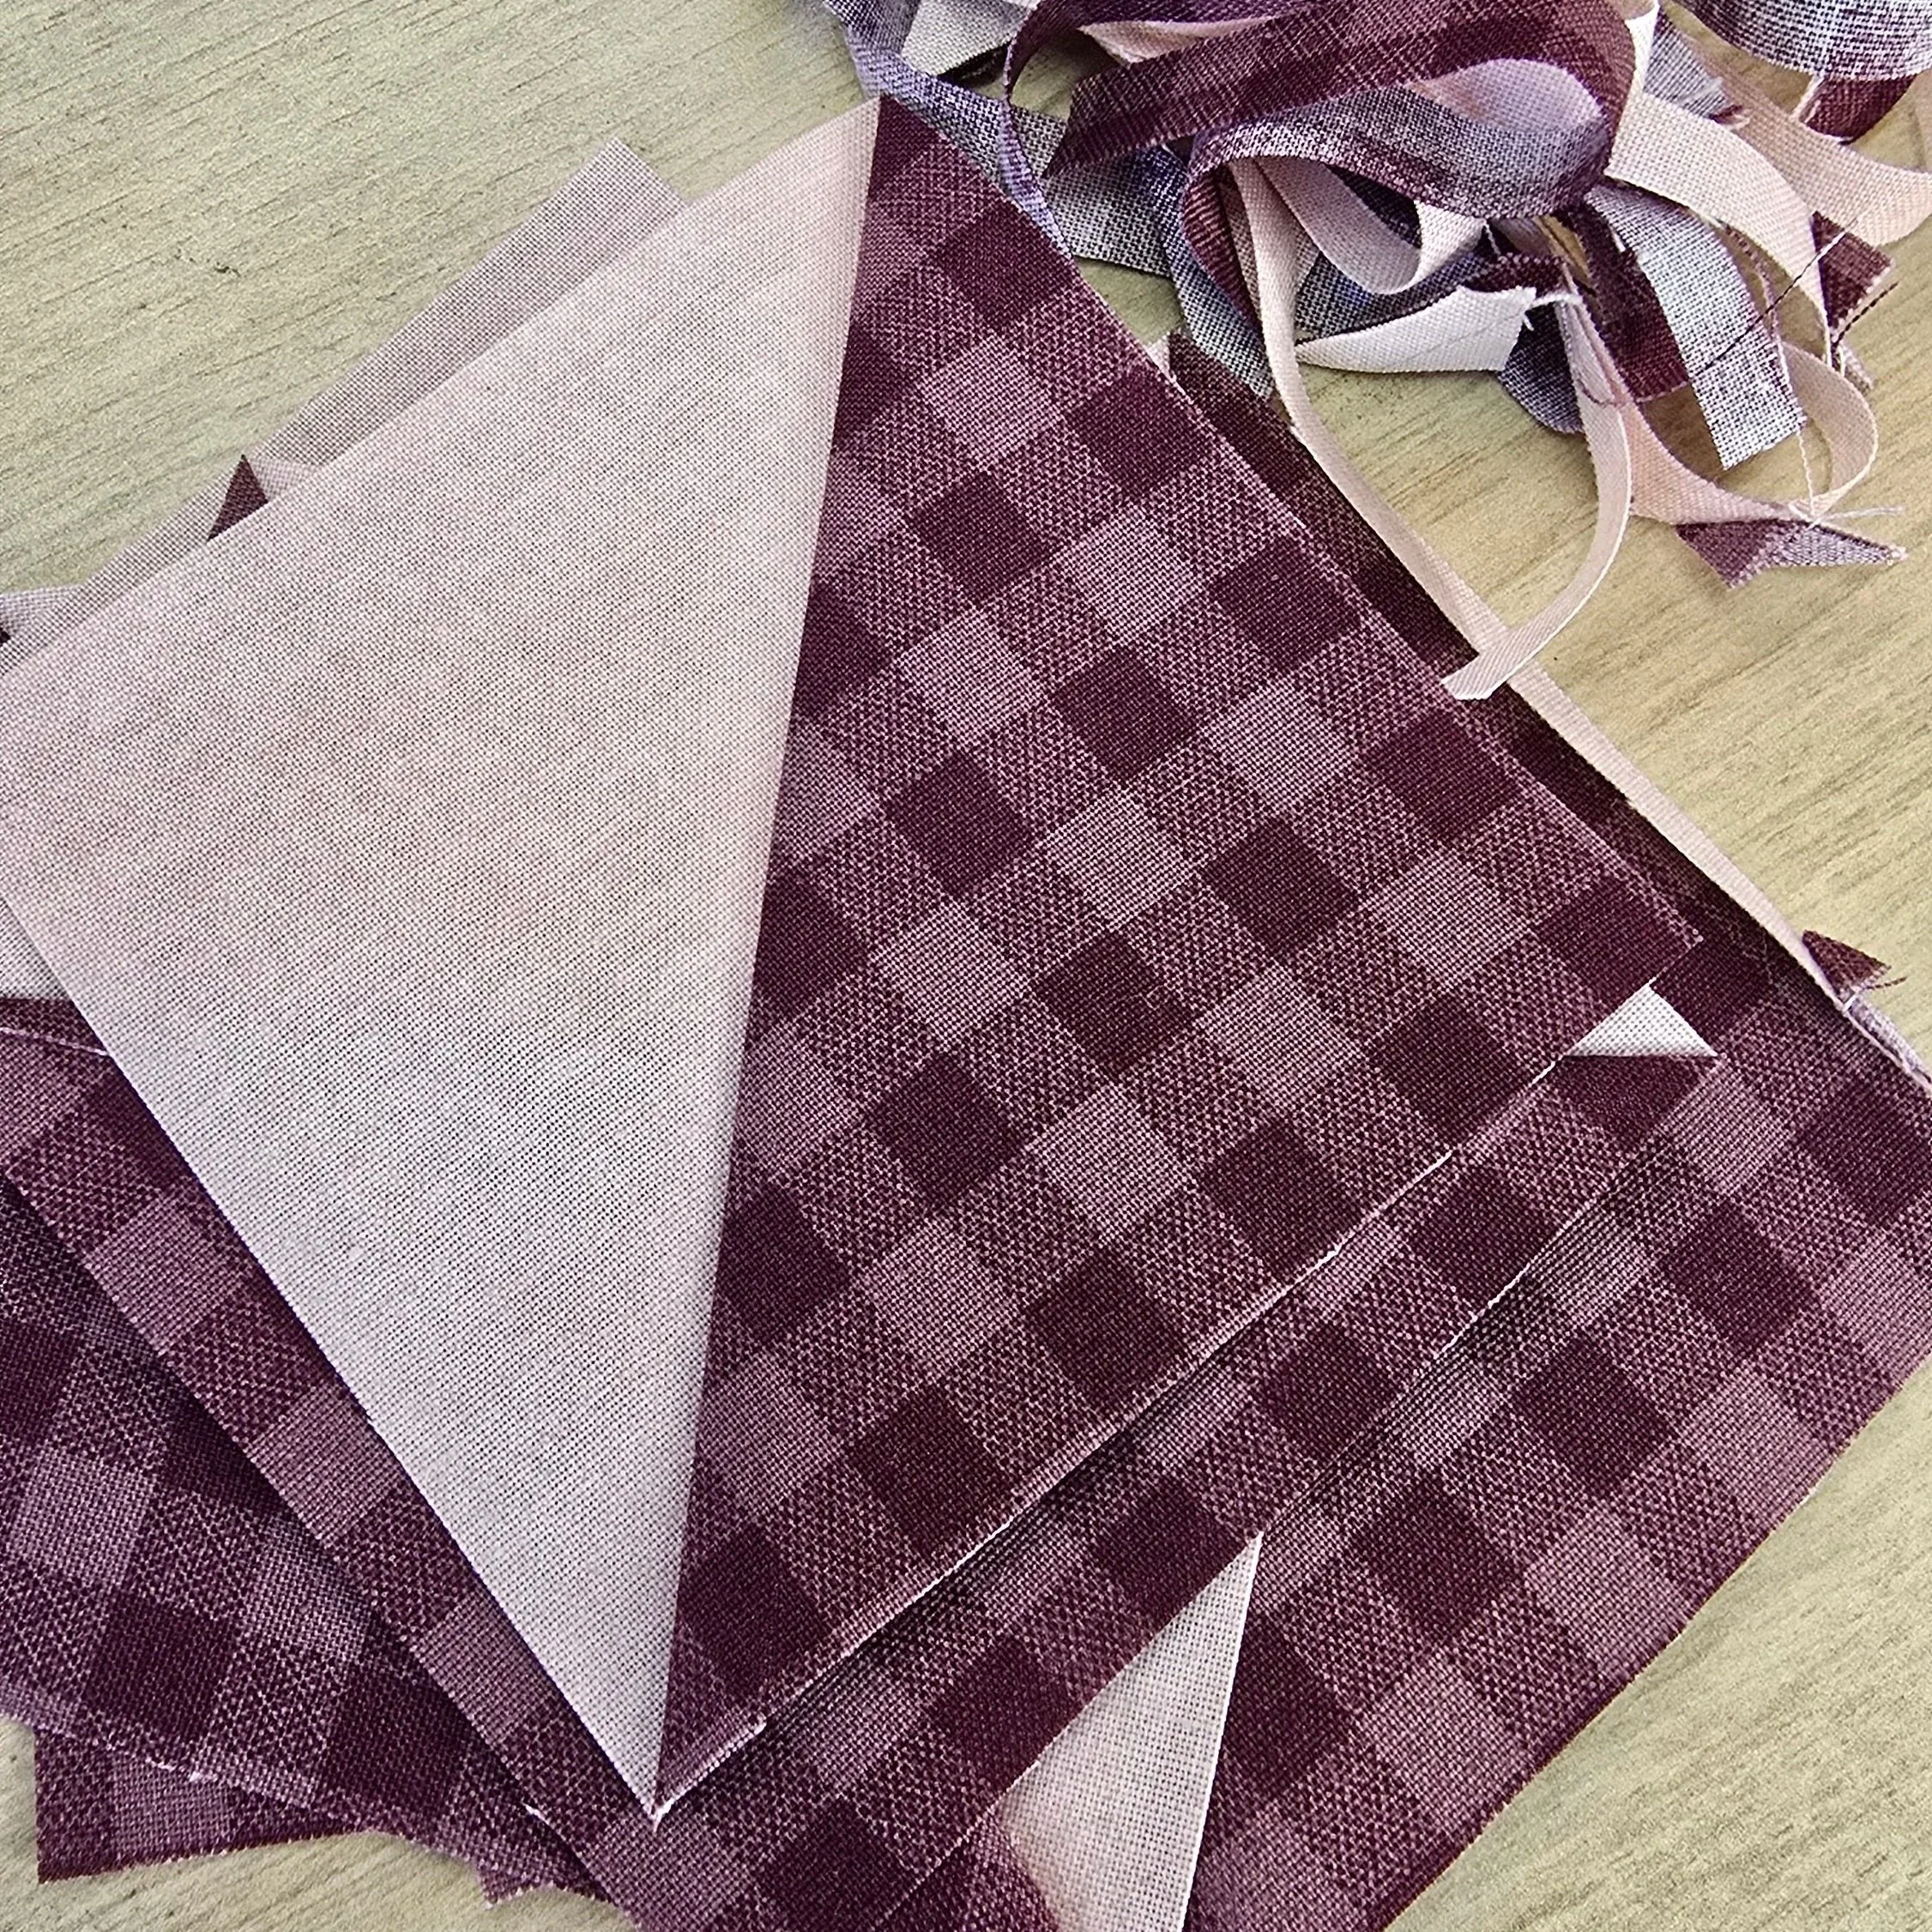
I think I have finally decided on my fabric pull. I was umming and ahhing, about the top of the jam jar, and I was torn between the gingham and the spotty fabric. I have decided on the gingham for my jar of blueberry jam.
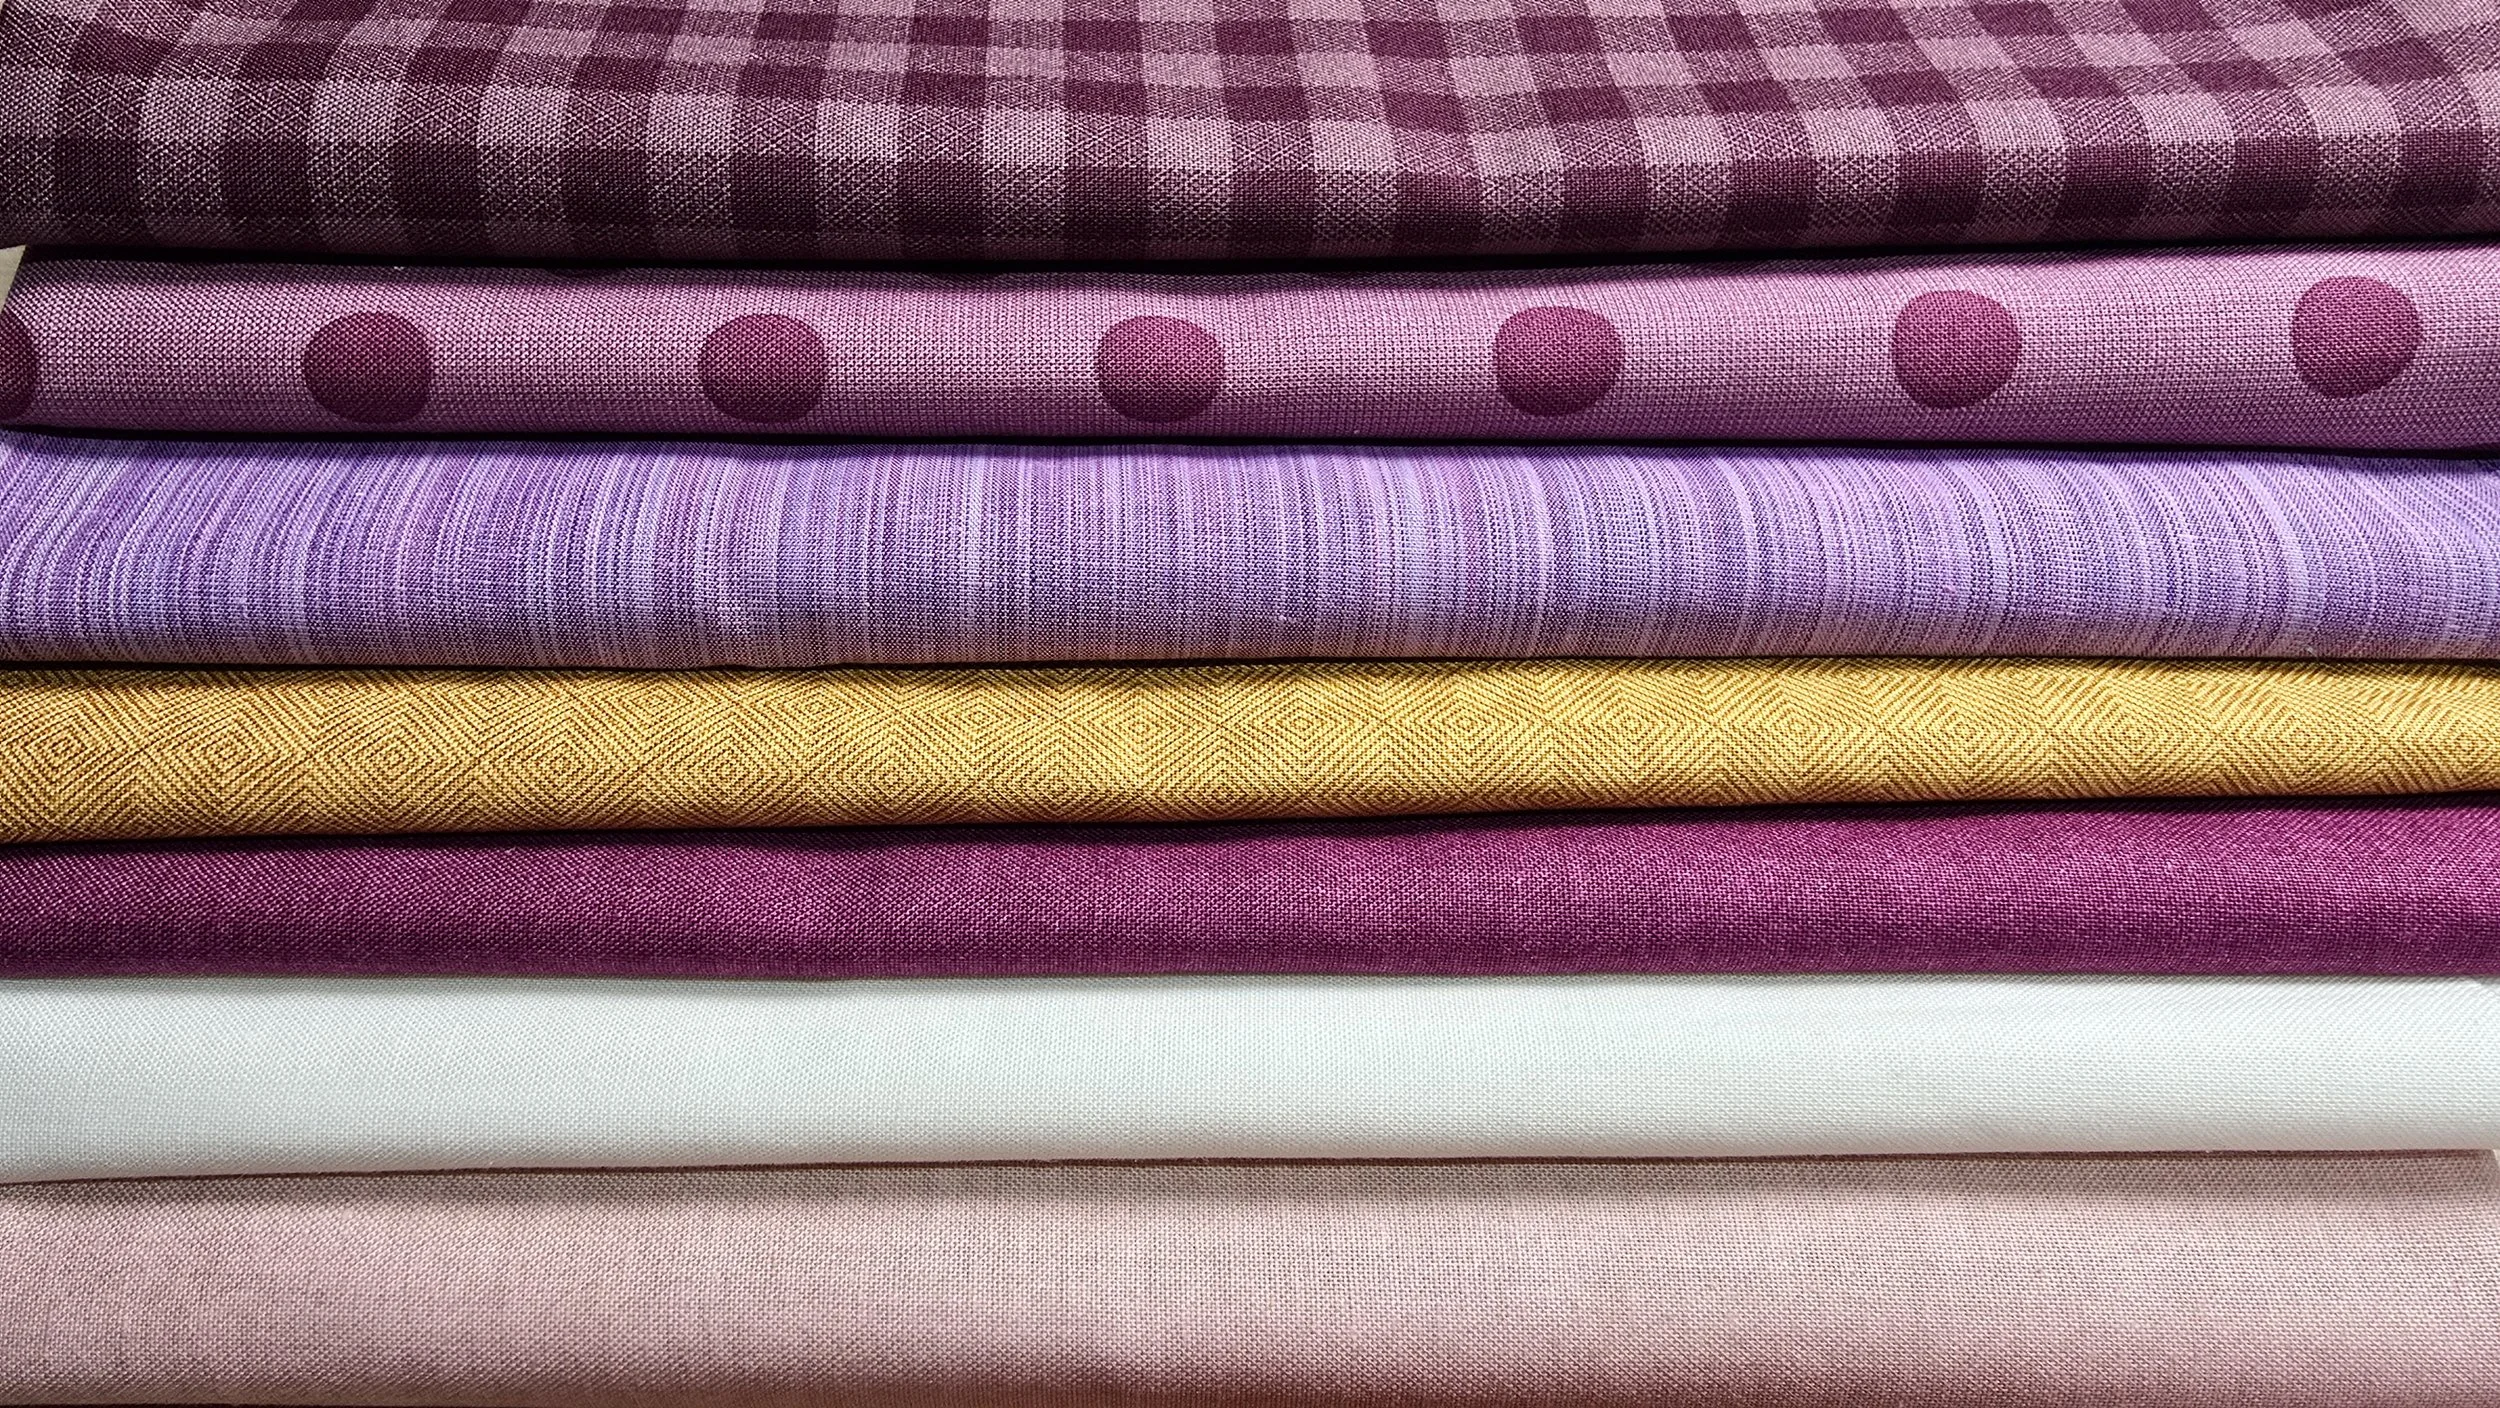
My Jam Jar Colourway
🍑 What You’ll Be Doing This Week
Sewing your half‑square triangles using the method in the pattern
Pressing and trimming them to size so they’re neat and ready to use
Laying them out to see your fruit begins to appear
Preparing for next week’s gentle row‑by‑row assembly
This is a lovely, meditative stage, short bursts of sewing, a bit of trimming, and that satisfying moment when the shapes start to look like something real.
Half Square Triangles.
🍋 Tips for Calm, Accurate HSTs
Chain piece where you can to keep the rhythm gentle and efficient.
Press open before trimming so your diagonal lines stay crisp and true.
Use a rotating mat if you have one to make trimming easier on your hands. I don’t have a rotating mat, however if I did I would use it for trimming.
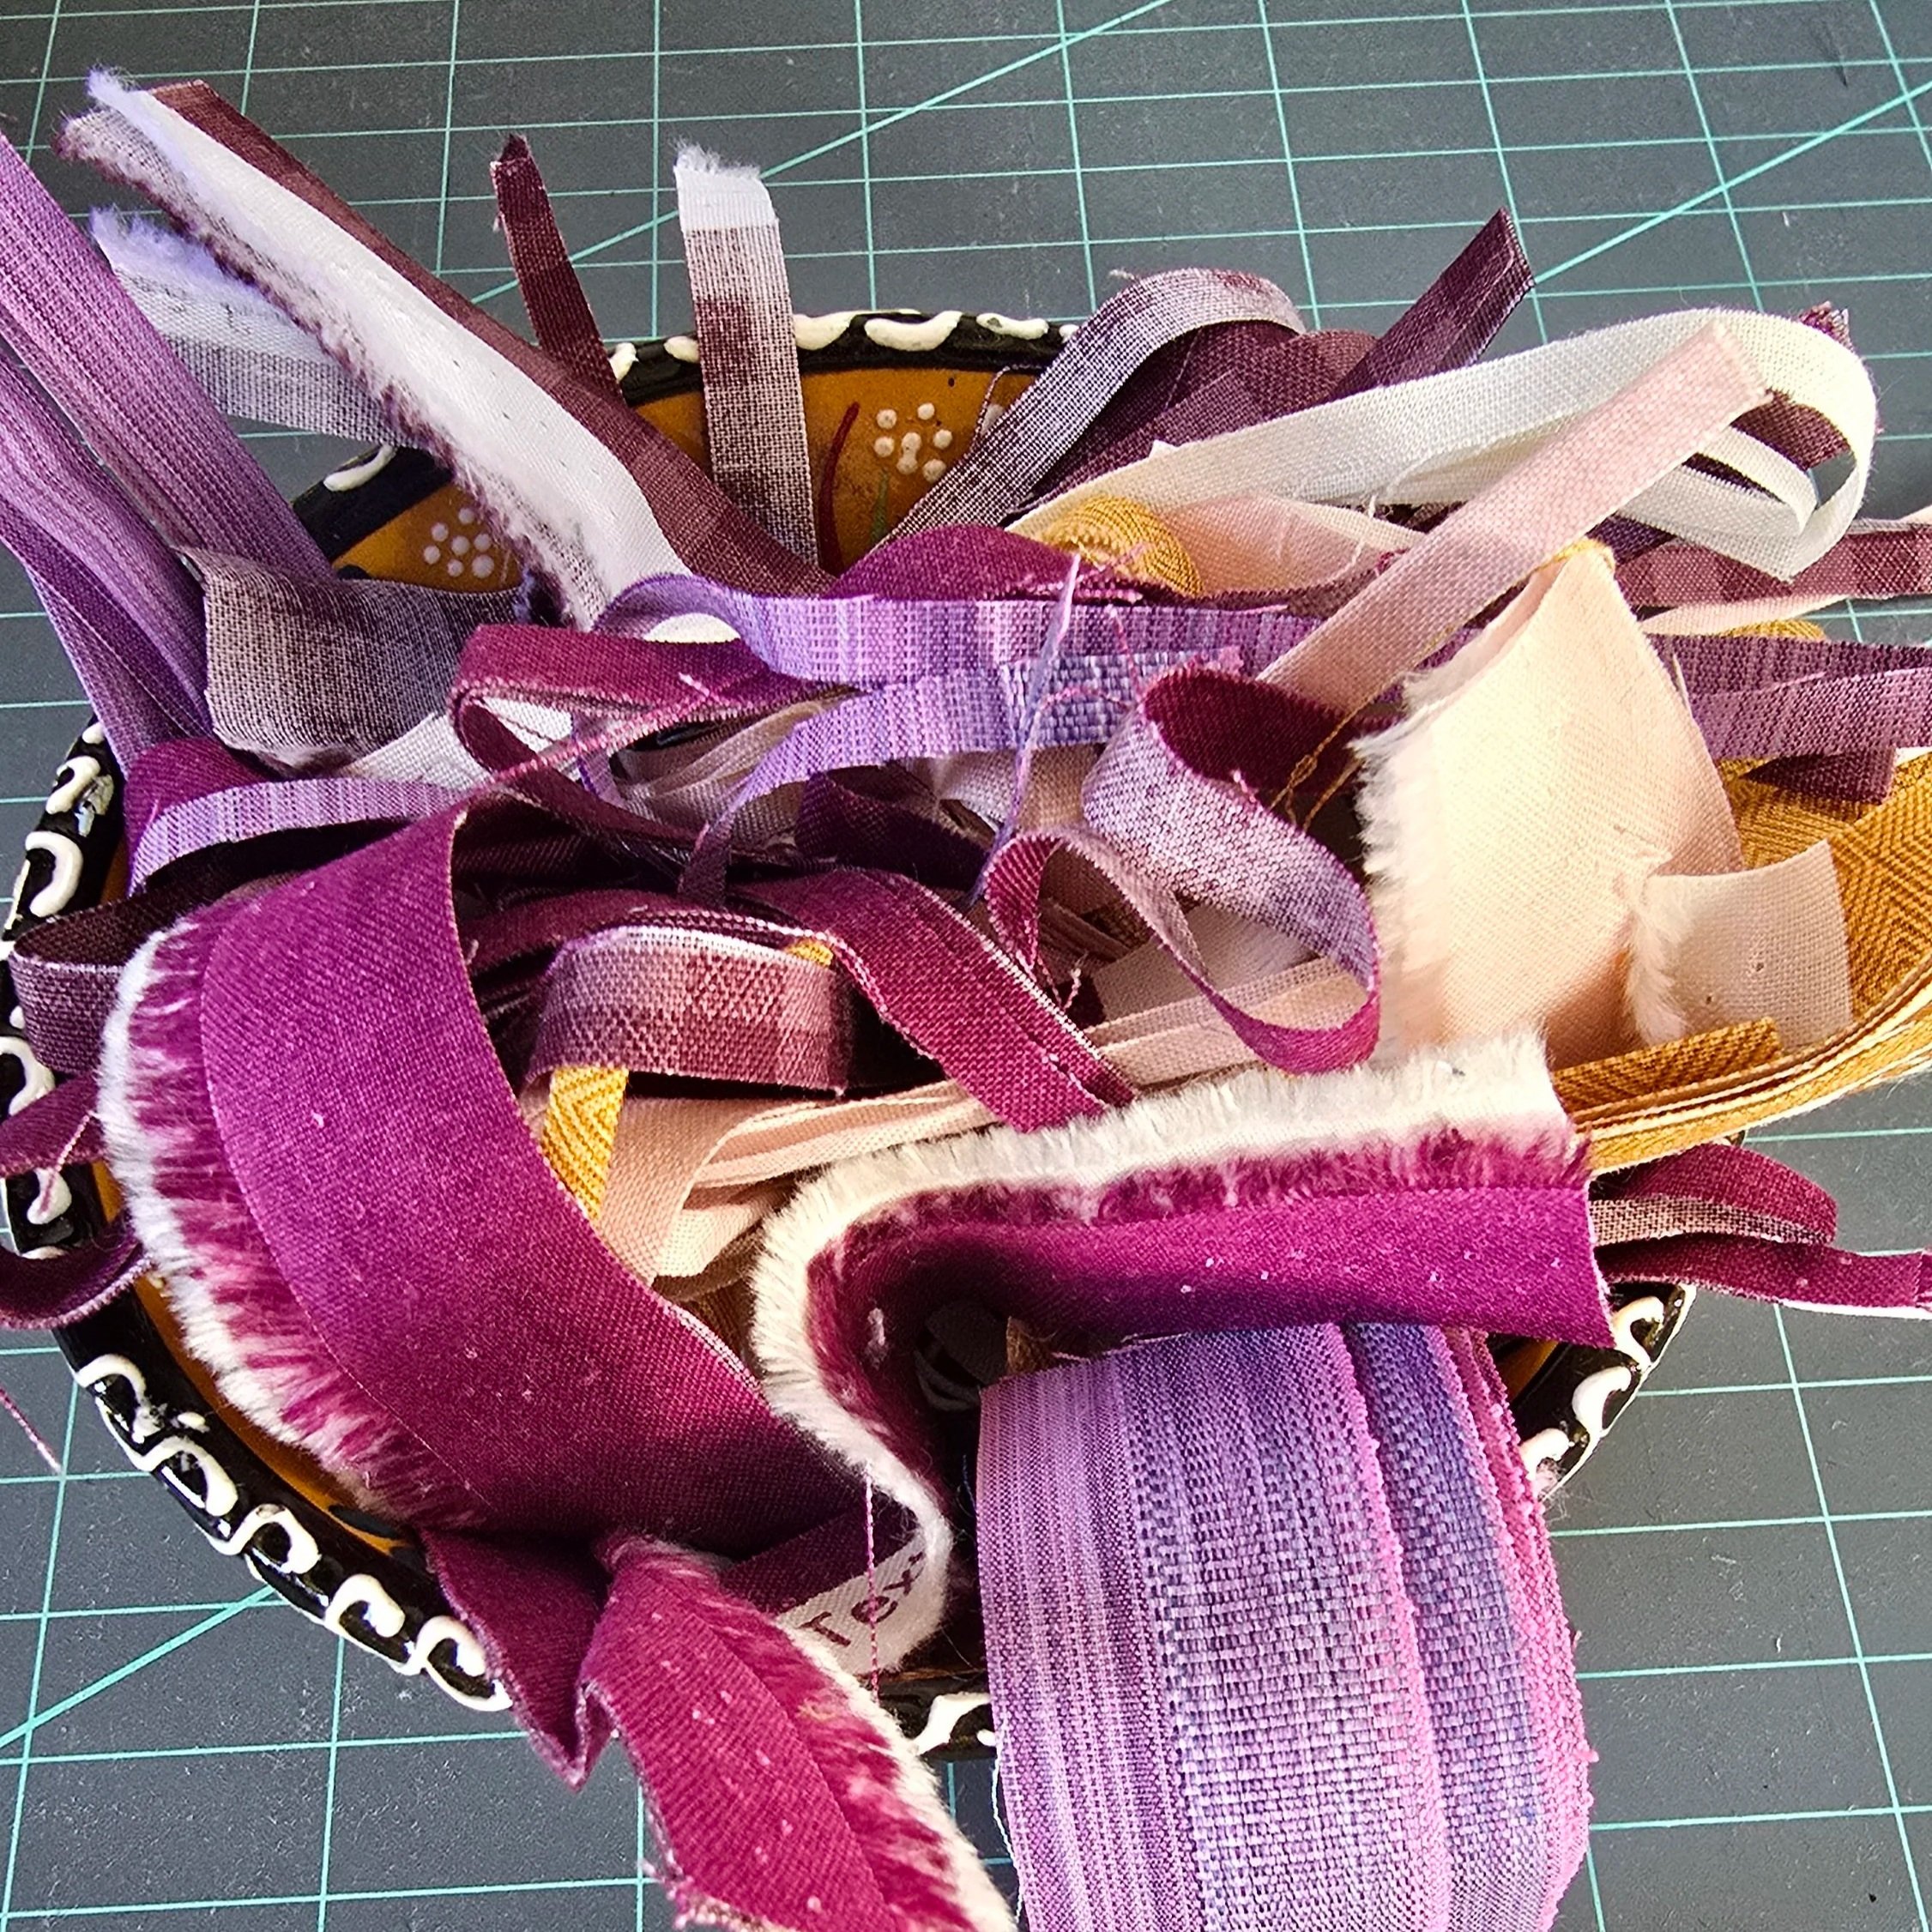
Keep your trimmings in a little bowl, it’s oddly satisfying and keeps your space tidy.
Here is a reminder of the “how to make a half square triangle” diagram in the pattern. There are many different ways to make hst’s, and this one is my preferred method.
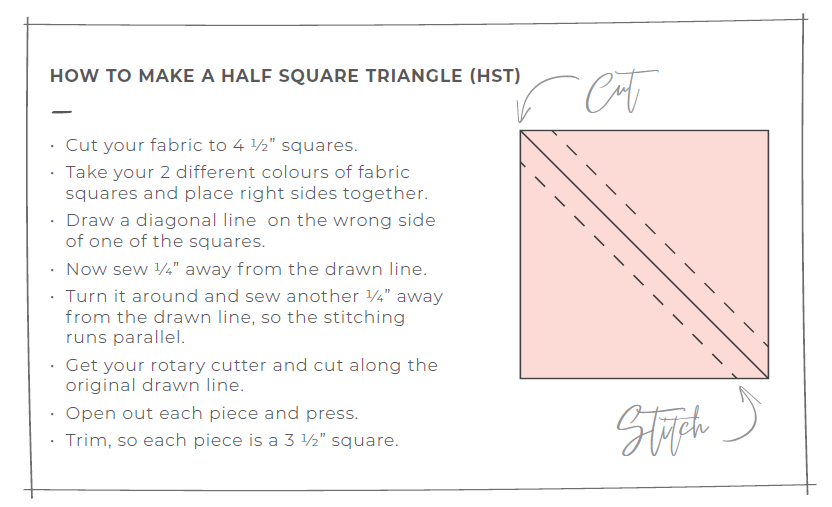
This is how I make my hst’s.
🍒 A Little Encouragement
If you’re new to half‑square triangles, take your time and enjoy the process. They don’t need to be perfect to work beautifully in this pattern. The fact that the squares are large, means that the hst’s can be a bit more forgiving, and the overall quilt has a soft, playful feel that welcomes small variations.
By the end of the week, you’ll have a lovely stack of prepared pieces ready for the rows to come, and that’s when the magic really starts.
Watch the video below
In week two I show you how I make my half square triangles. I chat about what thread I use for sewing them together, stitch length, and the different type of rulers that you can use to trim hst’s.
🍇 Share Your Basket
I’d love to see what flavours you’ve chosen. Share your fabric pull on Instagram or in the Facebook group using #BigJamQAL , it’s always such great fun to see the colour stories emerging across the community.
Next week we’ll start assembling our rows, but for this week, make sure you have all your half square triangles prepped and ready.
How the Quilt Along Works
We’ll be sewing together over four Sundays, starting 1st March 2026.
Each week you’ll get:
A new blog post with clear step‑by‑step instructions
A pre‑recorded video you can watch anytime
Tips, close‑ups, and gentle guidance
A little story or two from my floating studio
There’s no pressure, no deadlines, and no live sessions to juggle. Just calm, cosy sewing whenever it suits you.
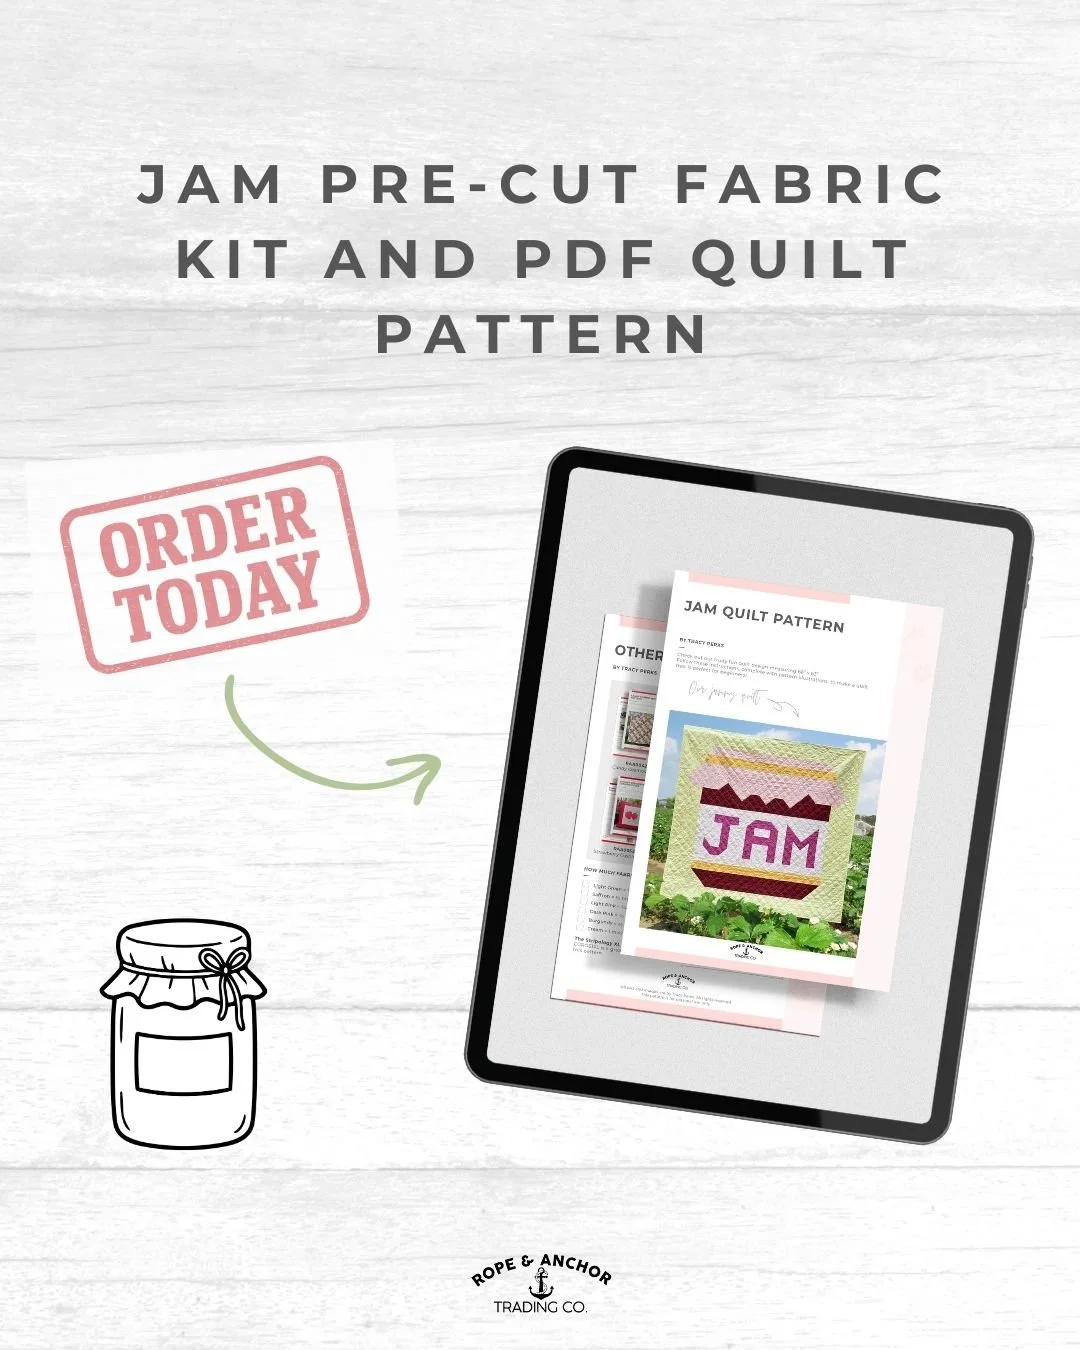
You can always buy a pre cut kit, and get jamming straight away. Scroll down to the bottom to see more.
what’s coming up
Week 3 - Sunday 15th March
Build your Jam Jar, row by row
This week, you’ll start assembling your jam jar by sewing the rows together. Here comes the satisfying bit. I love a bit of chain piecing, and I hope that you do to.
Week 4 - Sunday 22nd March
Put the jar together and finish the top.
Get the Pattern
The full Jam Quilt pattern is now available to download from my website.
It includes:
Step‑by‑step instructions
Diagrams
Cutting charts
Colouring sheet
Fabric requirements
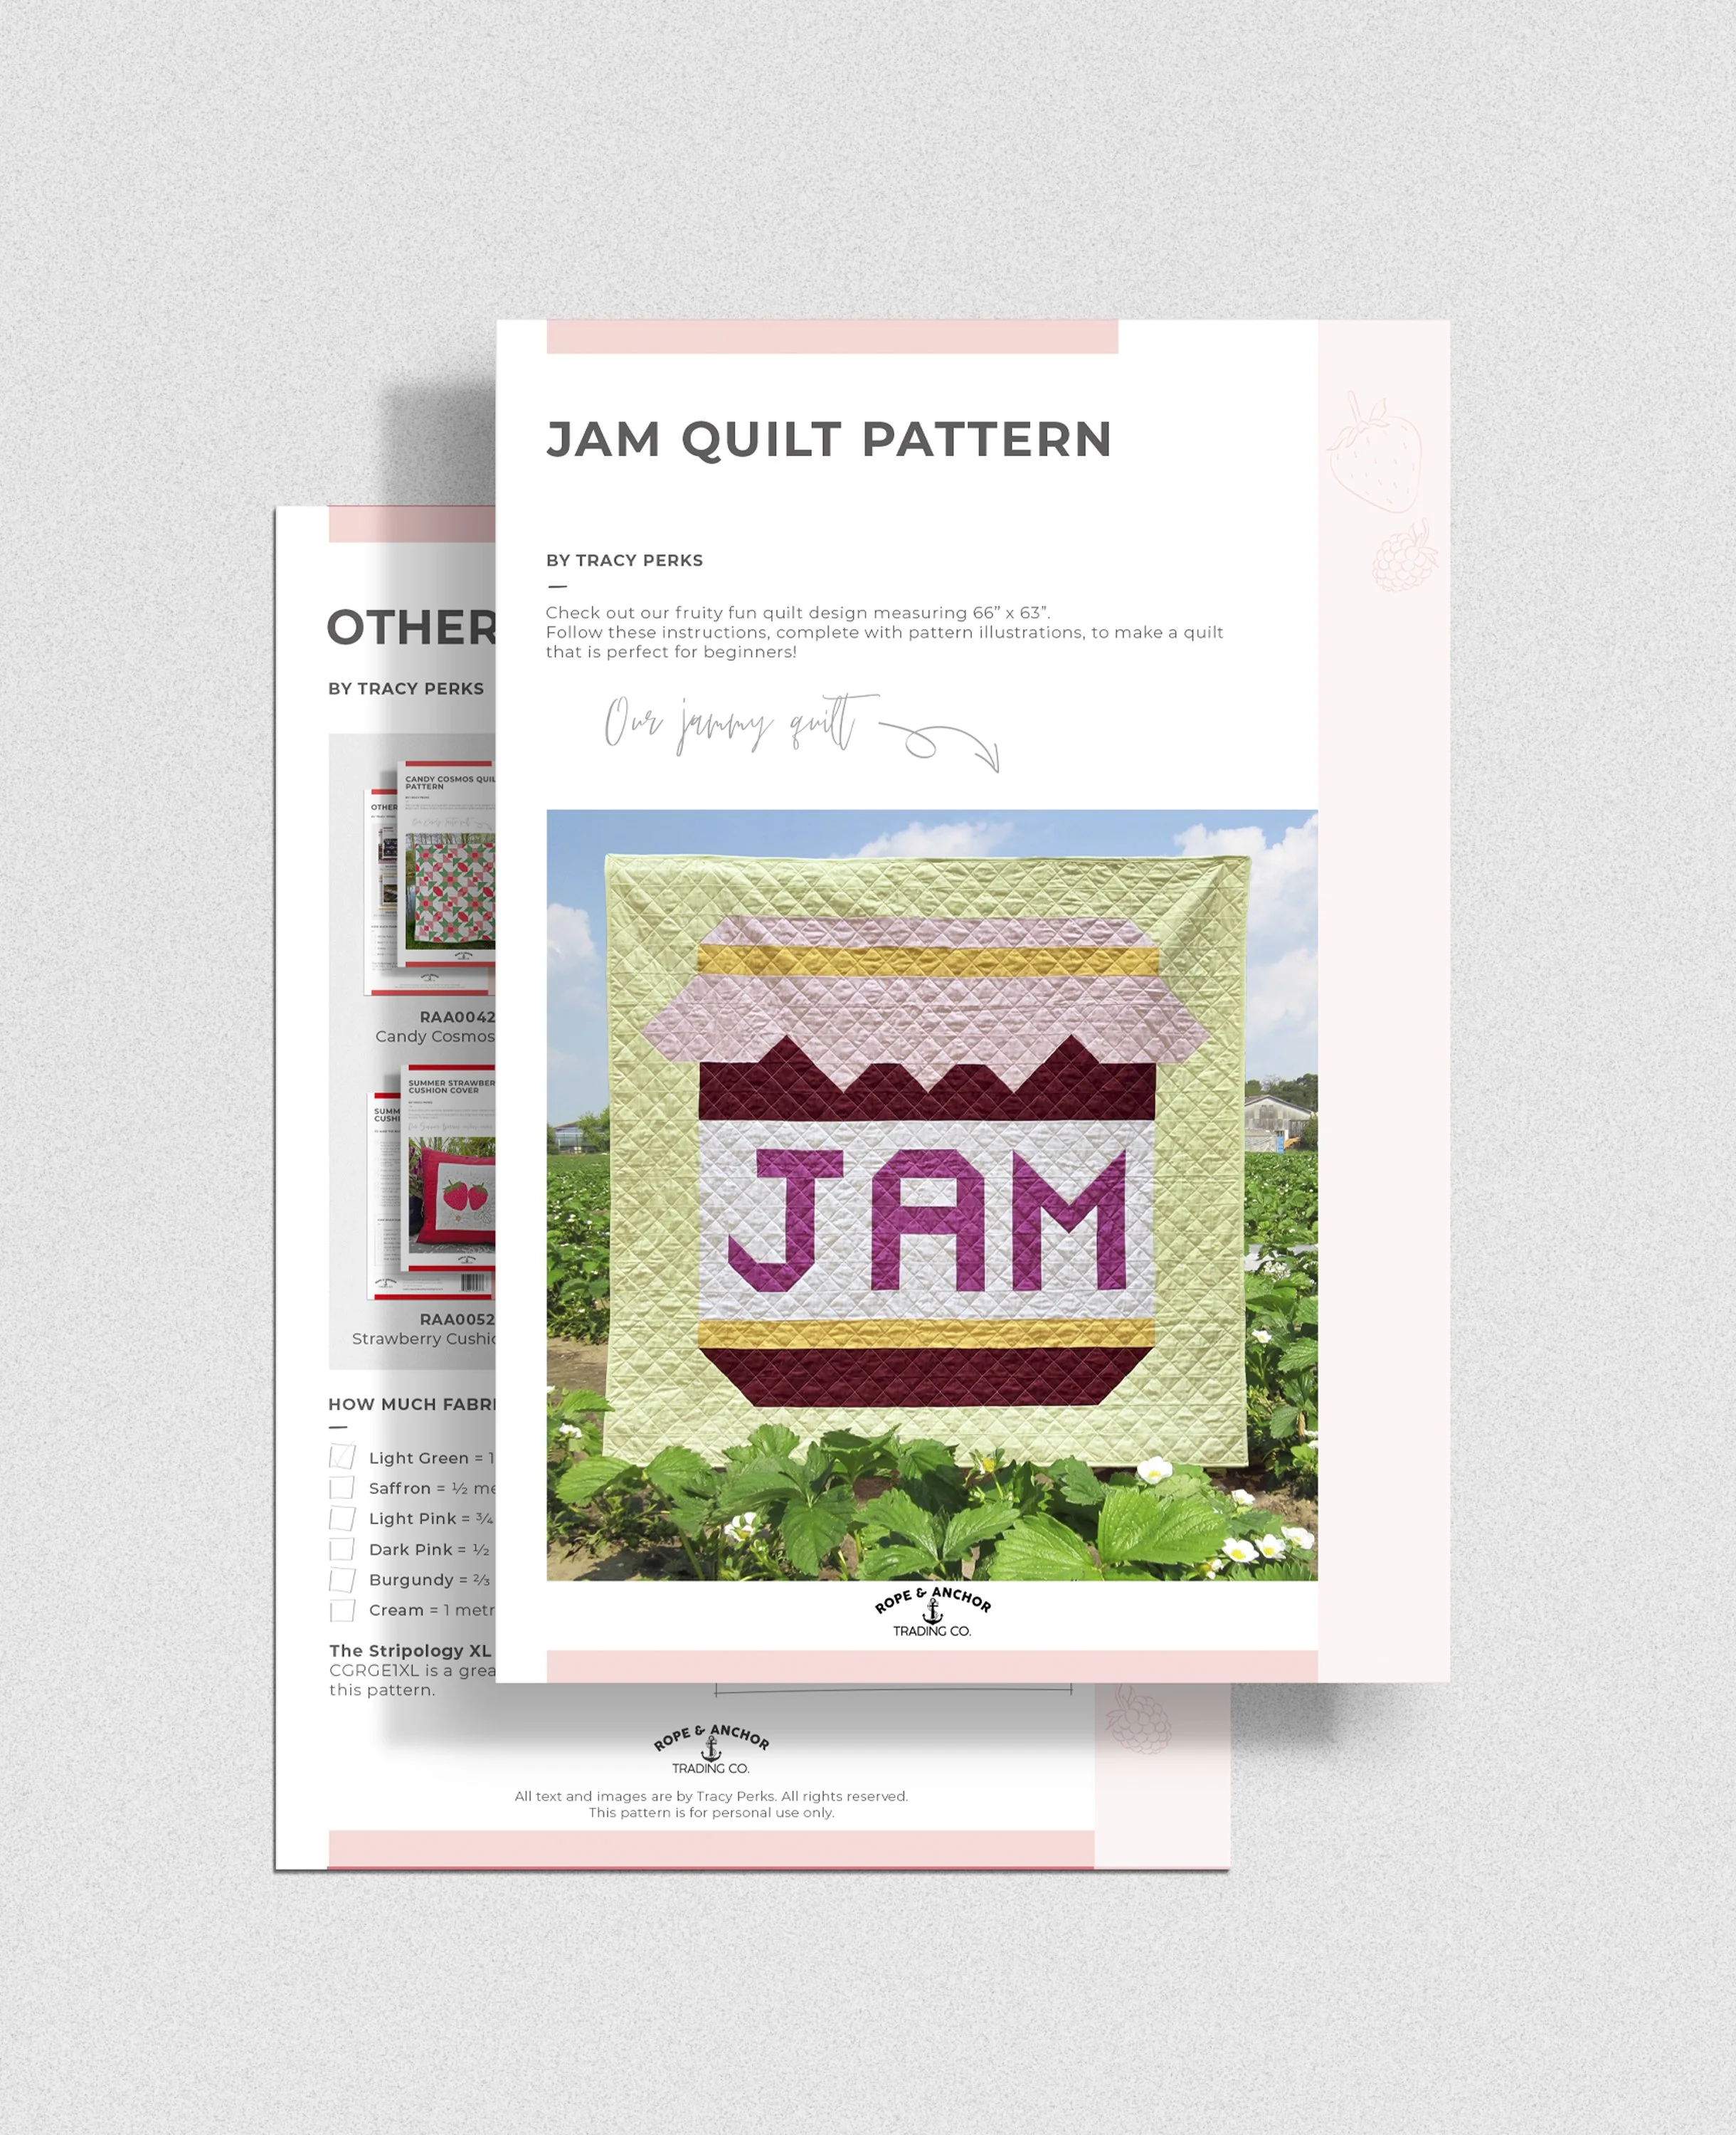
The Jam Quilt Pattern, available as a pdf download for just £10.00.
You can buy the fabric kit directly from me, and there is even a pre-cut kit available for those that want to get stuck in straight away.

DESCRIPTION
Jam Quilt Kit (Fabric + PDF Pattern)
Create a quilt that feels bright, modern, and wonderfully achievable with the Jam Quilt Kit. Measuring 66" x 63", this cheerful design is built from simple, satisfying rows that come together with an easy rhythm, perfect for confident beginners and a relaxing, feel‑good make for experienced quilters.
Your kit includes all the fabric you need for the quilt top, curated in a sweet, contemporary palette inspired by jars of homemade jam, sunny kitchens, and those cosy, everyday moments that make handmade quilts so special.
DETAILS
Fabric - Makower Spectrum Solids
Light Green – 1¾ metres (2 yards)
Saffron – ½ metre (½ yard)
Light Pink – ¾ metre (¾ yard)
Dark Pink – ½ metre (½ yard)
Burgundy – ⅔ metre (⅔ yard)
Cream – 1 metre (1 yard)
You’ll also receive the PDF pattern instantly upon purchase, so you can start planning, cutting, and stitching right away. With clear instructions and a layout that looks delightfully fresh without being complicated, the Jam Quilt is one of those projects that brings a real sense of joy as it grows.
Whether you’re sewing from your snug corner at home or from your floating studio on a peaceful afternoon, this kit is designed to make the process smooth, enjoyable, and inspiring.
DESCRIPTION
Jam Pre‑Cut Quilt Kit + PDF Pattern
Create a quilt that feels bright, modern, and wonderfully achievable with the Jam Pre‑Cut Quilt Kit. Measuring 66" x 63", this cheerful design is built from simple, satisfying rows that come together with ease, perfect for beginners and a relaxing, feel‑good make for experienced quilters.
Your kit includes all the pre‑cut pieces you need for the quilt top, beautifully prepared and curated in a sweet, contemporary palette inspired by jars of homemade jam, sunny kitchens, and those cosy, everyday moments that make handmade quilts so special.
DETAILS
Pre‑Cut Fabrics - Makower Spectrum Solids
Light Green – 1¾ metres (2 yards)
Saffron – ½ metre (½ yard)
Light Pink – ¾ metre (¾ yard)
Dark Pink – ½ metre (½ yard)
Burgundy – ⅔ metre (⅔ yard)
Cream – 1 metre (1 yard)
All the cutting is done for you, so you can dive straight into the fun part, sewing. You’ll also receive the PDF pattern instantly upon purchase, making it easy to start planning and stitching right away.
With clear instructions and a layout that looks delightfully fresh without being complicated, the Jam Quilt is one of those projects that brings a real sense of joy as it grows.
Whether you’re sewing from your snug corner at home or from your floating studio on a peaceful afternoon, this kit is designed to make the process smooth, enjoyable, and inspiring.
What You’ll Need
Sewing machine
Rotary cutter, mat, and ruler
Thread
Pins or clips
Iron and ironing board
The Jam Quilt pattern
Nothing fancy - just the basics.
Join In
To share your progress and connect with fellow quilters, we invite you to join the Made on The Cut Facebook Group, where you can post your photos, ask questions, and enjoy community support throughout the Quilt Along.
Made on the Cut, quilting and sewing group | Facebook
A juicy little quilt‑along to sweeten your spring